Home How to Repair Inflatable Products?

How to Repair Inflatable Products?

Technical Maintenance & Repair Guide

Standard Operating Procedures for Inflatable Integrity

I

Professional Air Valve Replacement

Step 1: Structural Inflation

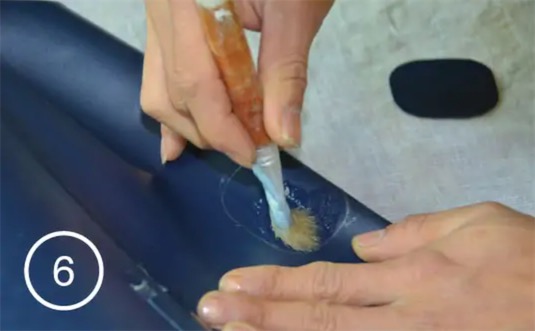
Fill the air chamber to create internal tension, ensuring the valve assembly remains stable during tools application.

Step 2: Torque Release

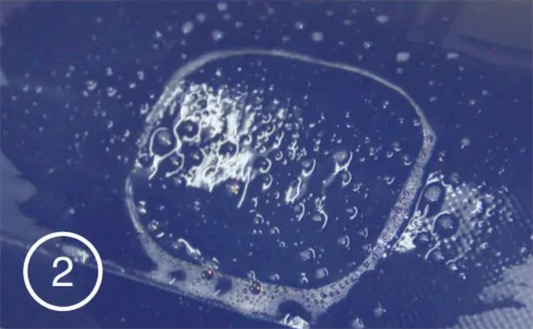
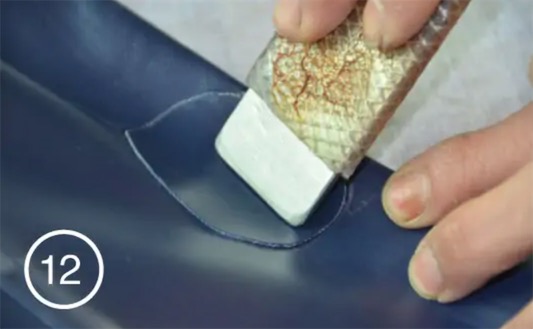
Loosen counter-clockwise. Warning: Grip the internal "boot" through the fabric to prevent it from falling inside.

Step 3: Extraction & Swapping

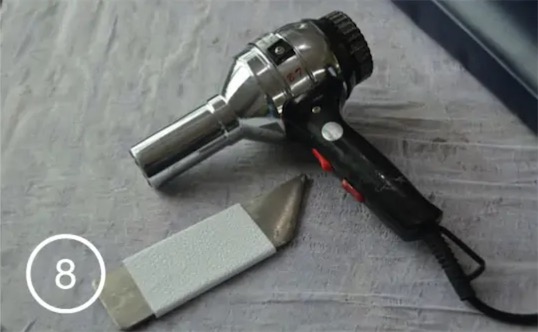
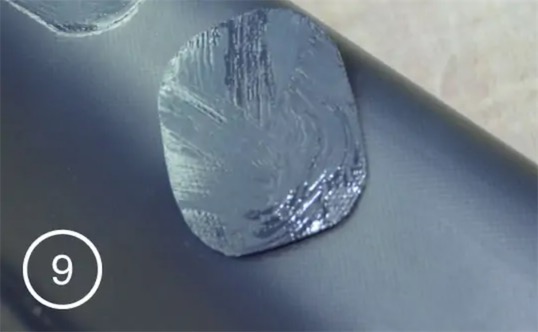
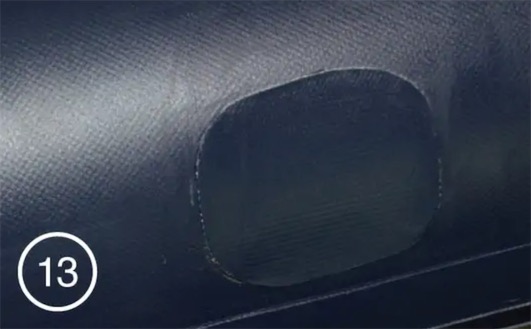
Deflate the tube, secure the internal boot, unscrew old valve and immediately thread the new one hand-tight.

Step 4: Final Pressure Seal

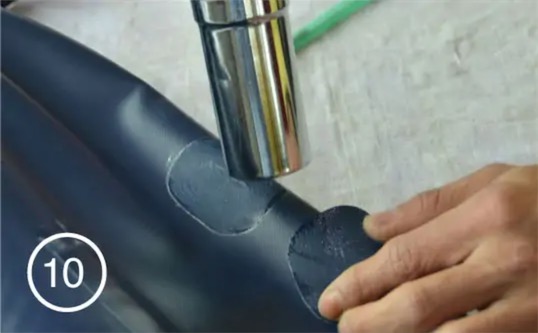
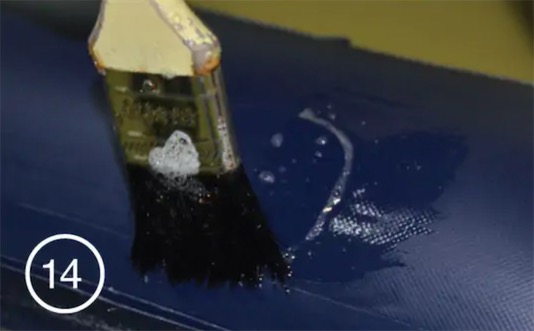
Re-inflate the tube. Use the valve tool for a final tightening to achieve a certified 100% airtight seal.

II

Step-by-Step PVC Patching Protocol

Locate Leak
01. Localization

Pinpoint the puncture center while inflated.

Detection
02. Detection

Use 3:1 soapy water to find micro-leaks.

Shaping
03. Shaping

Round patch corners to prevent lifting.

Priming
04. Priming

Clean surface with rubbing alcohol.

Alignment
05. Alignment

Trace outline and then deflate fully.

Coating A
06. Coating A

Apply even PVC glue layer to product.

Coating B
07. Coating B

Apply glue to the back of the patch.

Readiness
08. Readiness

Prepare heat gun and squeegee tool.

Monitoring
09. Monitoring

Wait for glue to reach matte finish.

Activation
10. Activation

Heat glue to reactivate the bond.

Application
11. Application

Press patch firmly onto hard surface.

Compression
12. Compression

Squeegee out all air bubbles.

Curing
13. Curing (24 Hours)

Crucial: Do not inflate for 24 hours.

Validation
14. Validation

Re-test with soapy water for leaks.

Perimeter Check
15. Perimeter Check

Check valve edges for seal integrity.

Calibration
16. Calibration

Final torque check with the wrench.

Xianghe Inflatable Products Factory | Engineering Excellence Since 2007
Need further assistance? Contact our technical support team.